
The Taildragger · Made to order

A carry-on built like an aircraft.

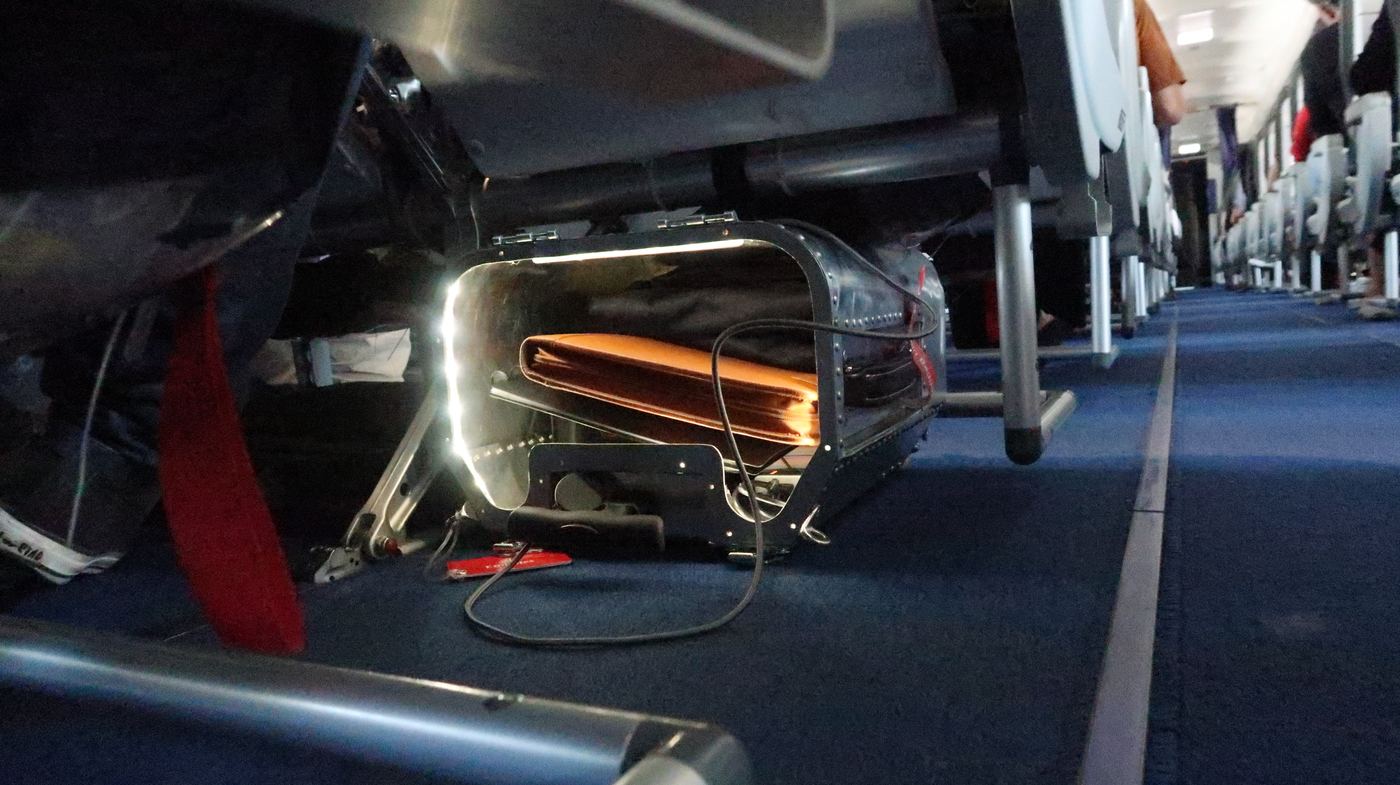
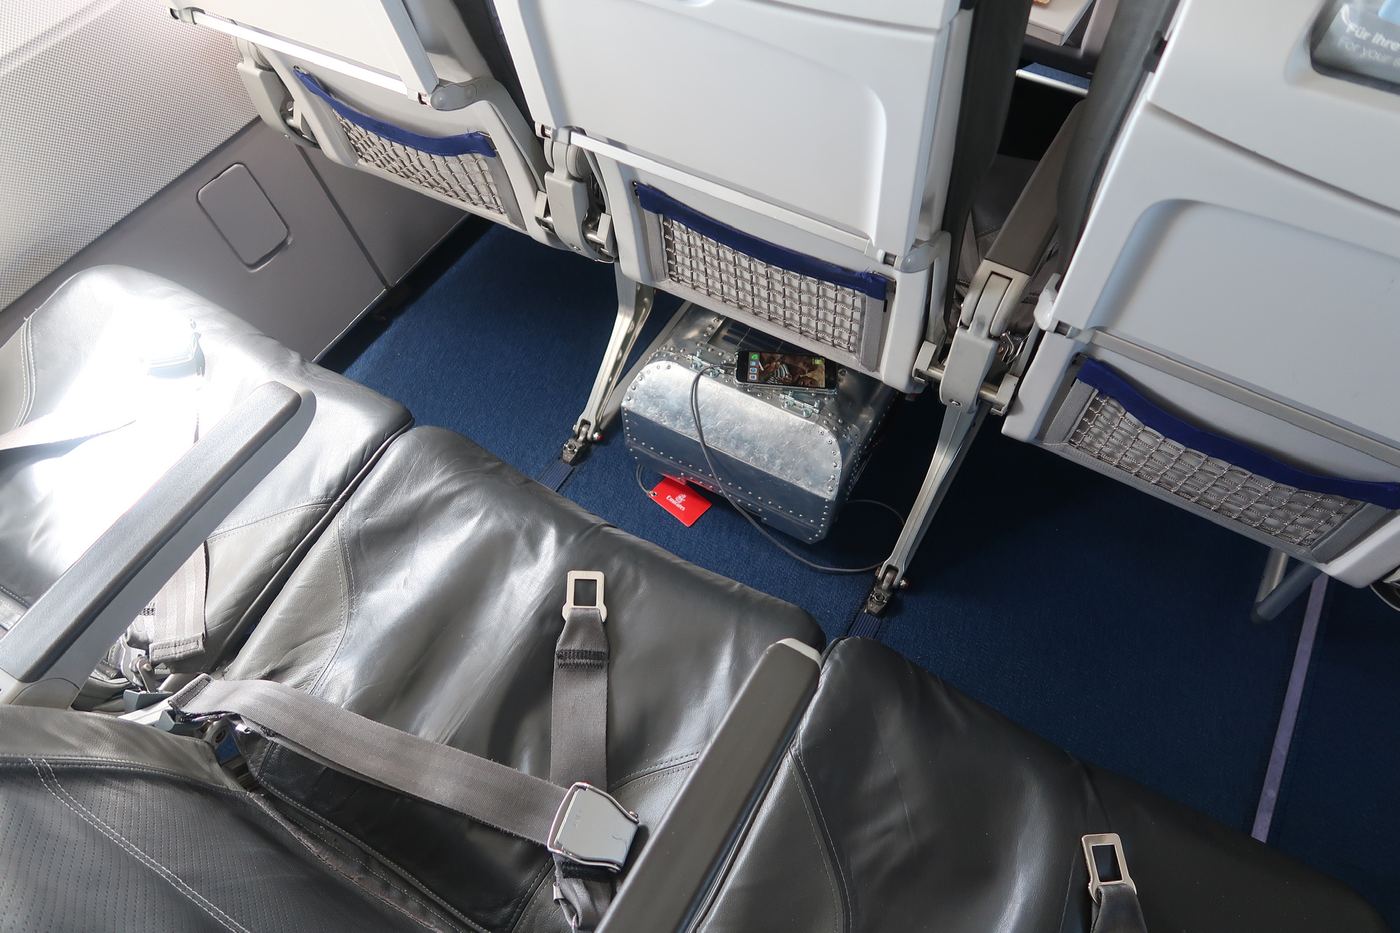
Hand-riveted aircraft aluminium, sized for the space under the seat in front of you — with its own power, its own light and a lid that doubles as a second bag.

Each case is built by hand after you order. Production takes about 3–5 months.

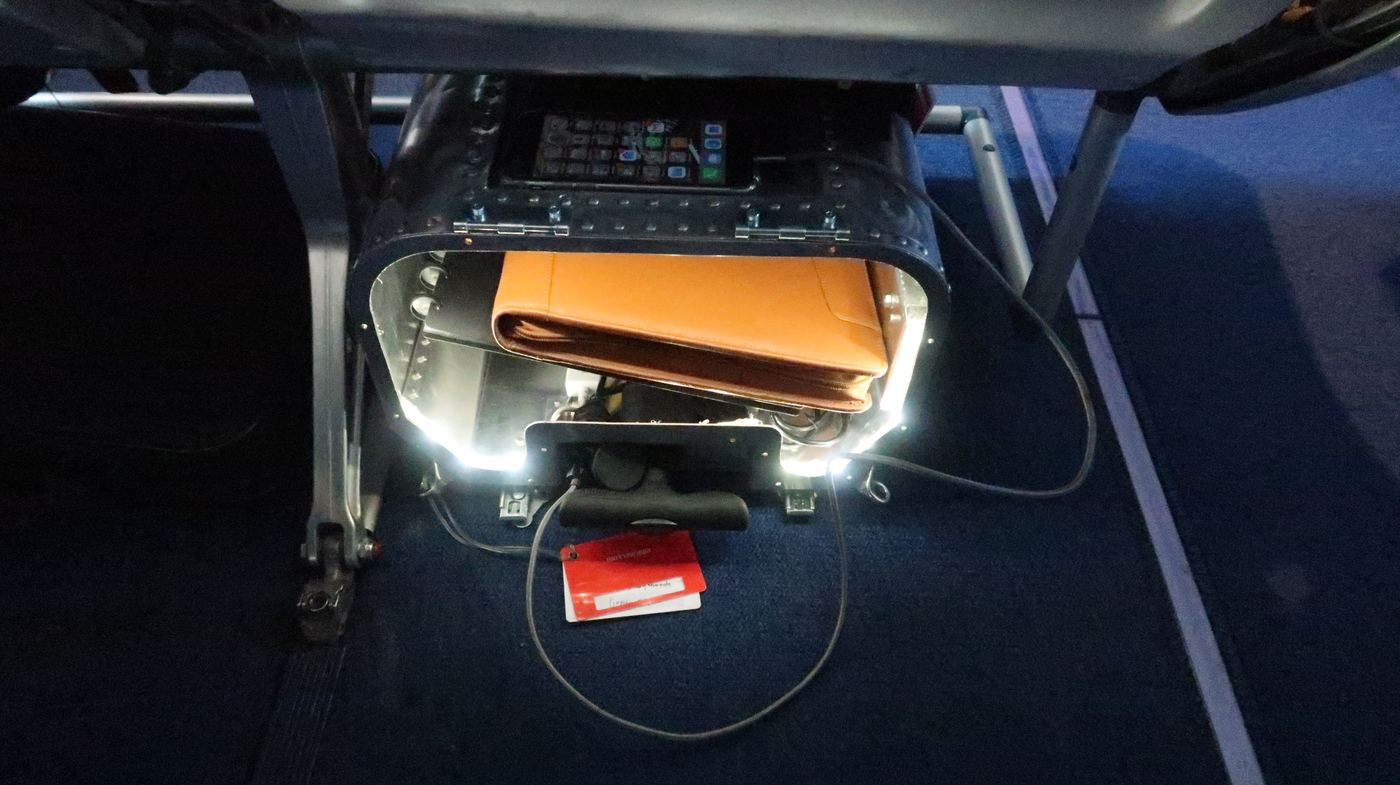
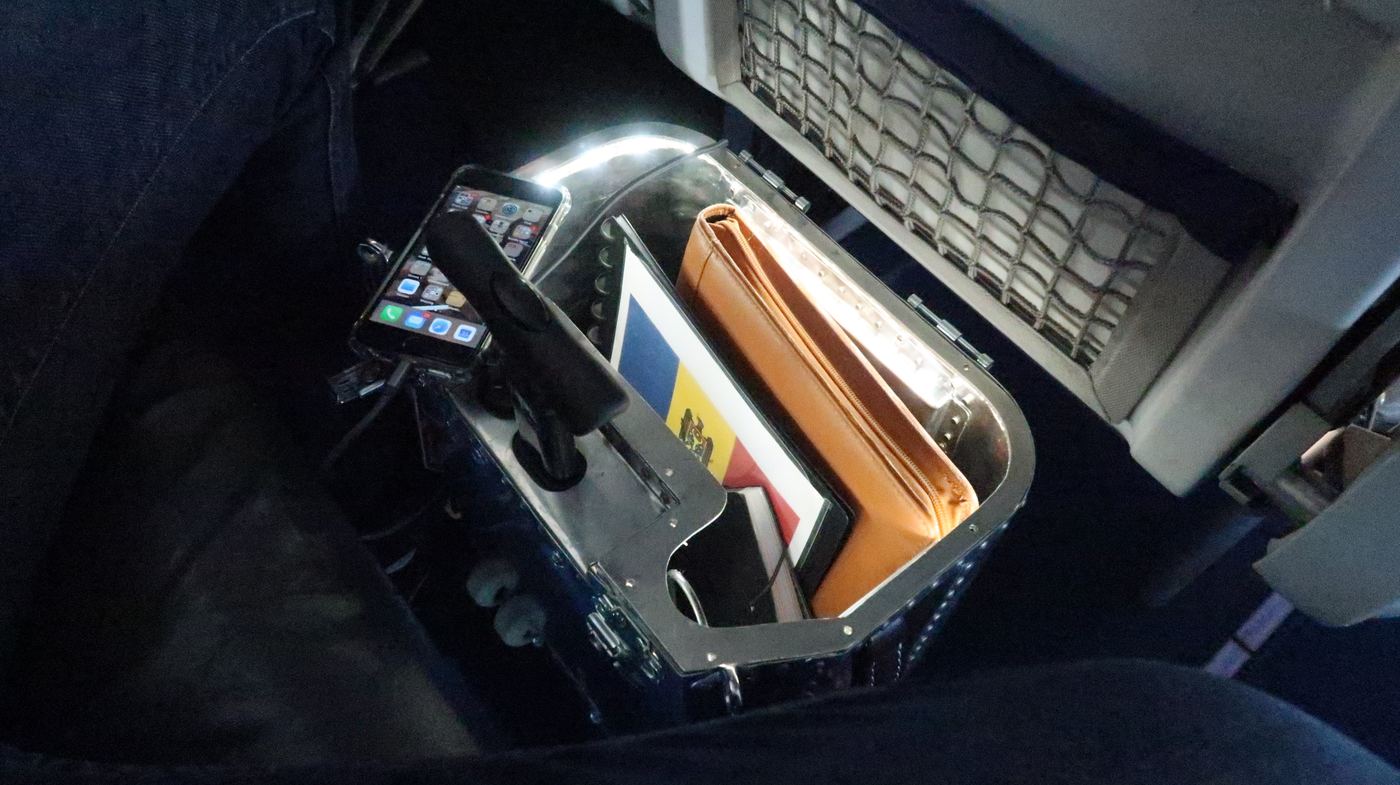
The Taildragger open under an aircraft seat, lit from inside FIG. 01 — UNDER-SEAT, LIGHTS ON
99.2 WhBattery bank, just under the 100 Wh cabin limit
SolarPanel set into the front skin
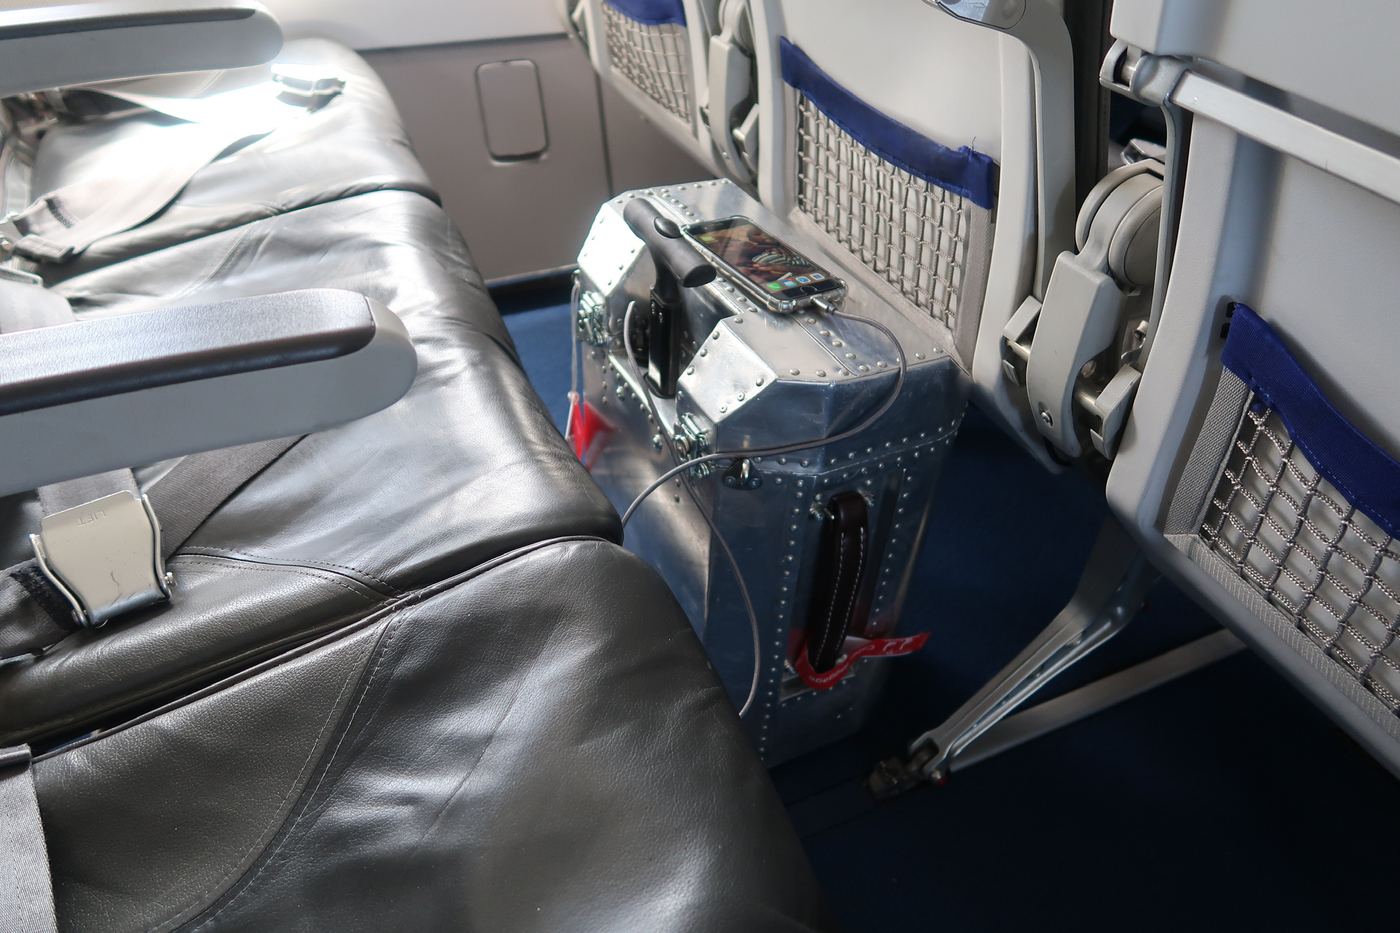
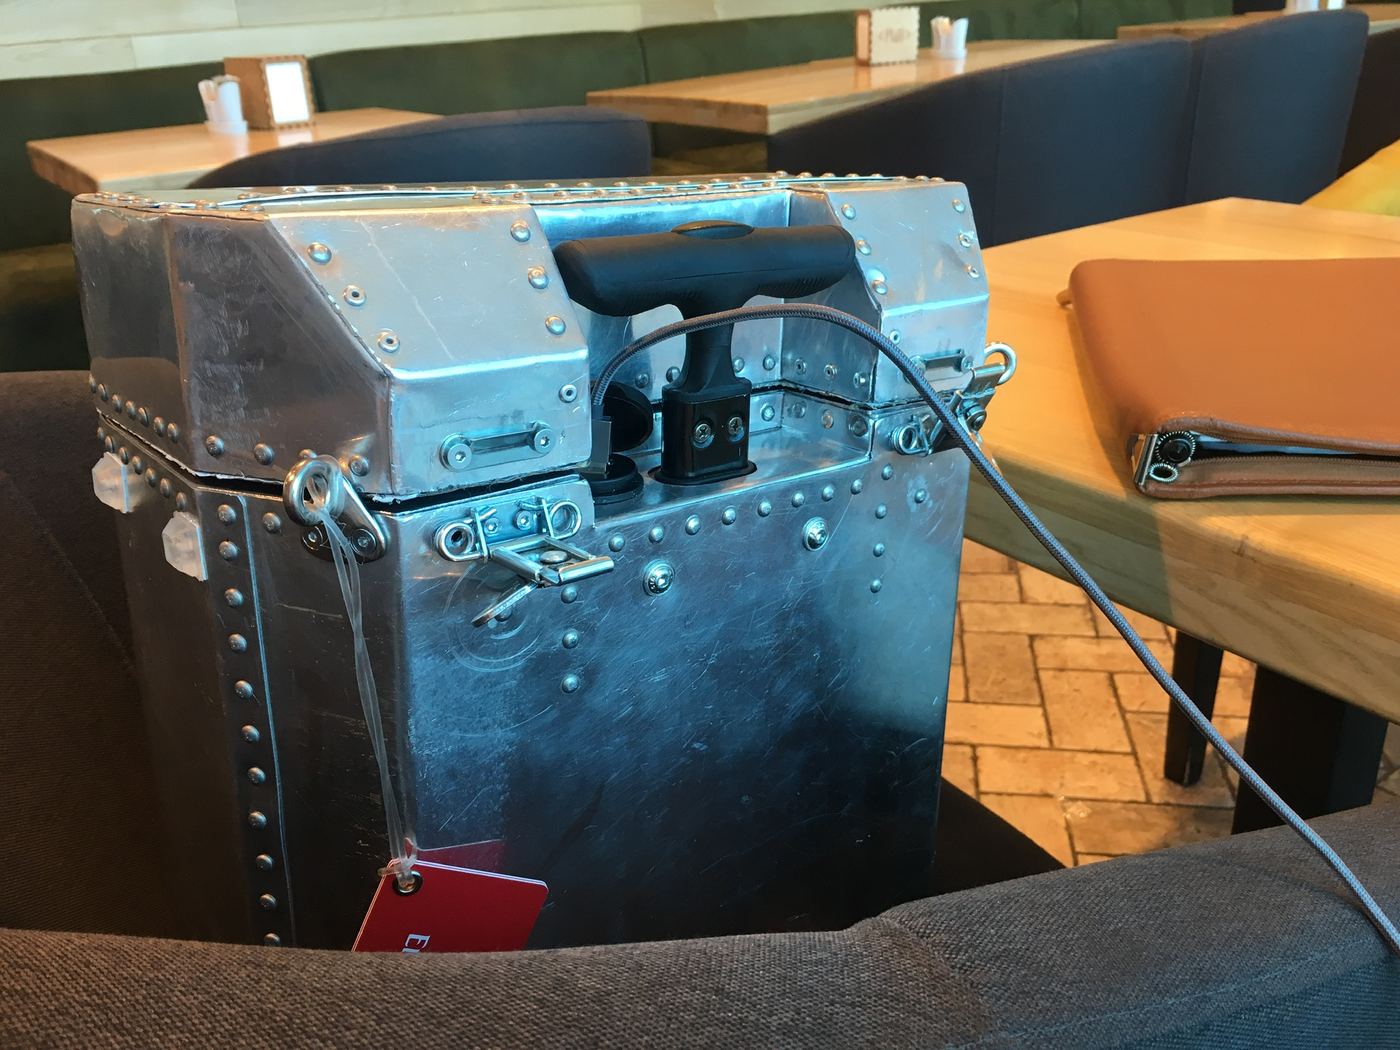
USB outCharge without opening the case
3–5 monthsBuilt by hand, to order

Five systems.
One airframe.

Every part solves a problem we kept running into as pilots and frequent travellers.

01

The power supply

Battery bank plus solar panel. About two days of phone and tablet — point it at the sun for more.

Why we built it this way

Working through the day in different locations and spending nights in guesthouses with bad or no electricity was the next challenge. So a good-size battery pack needed a place in the case — and since solar panels are light, one went prominently into the front, where the skin needed a stiffening recess anyway.

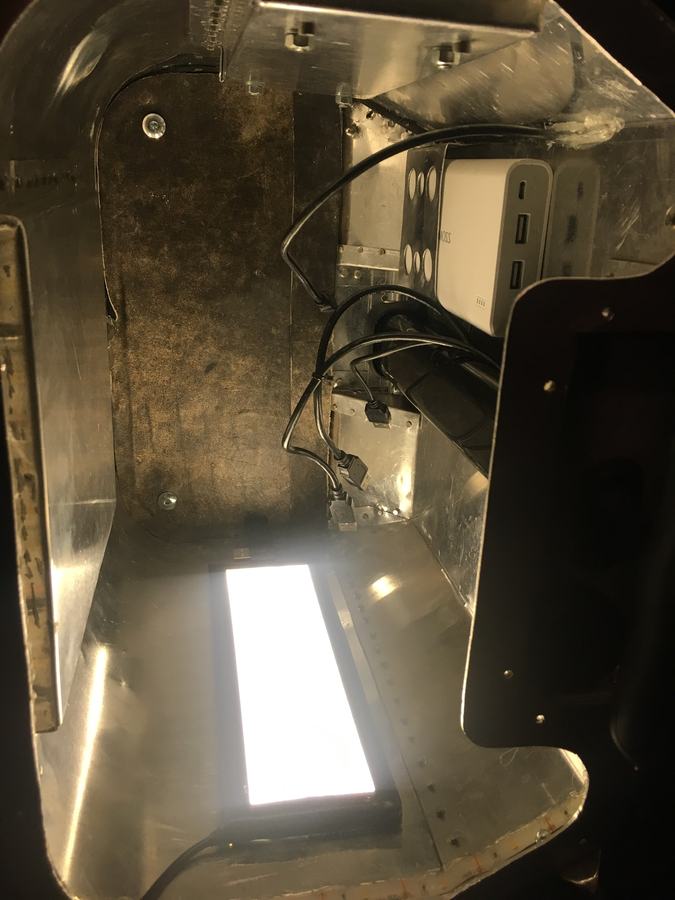
The 99.2 Wh battery sits just below the 100 Wh limit for carrying batteries on board, and charges a tablet and smartphone for about two days. Point the front of the case into the sun and you have power for days or weeks. USB power is reachable from the outside too, because airports and train stations are not where you want your case open while you charge.

02

The light

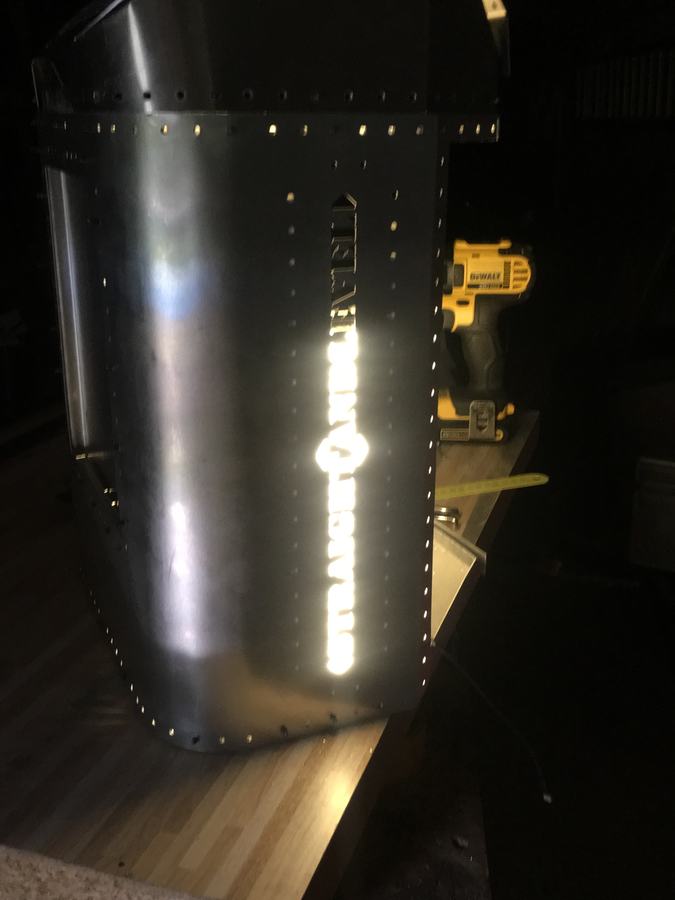
No more dark void in a dim cabin or hotel room. The illuminated logo is a happy side effect.

Why we built it this way

An upright hard case is a dark void in a dim cabin or a badly lit hotel room. With a battery on board, a light was the logical next step — and the illuminated logo, a side effect, looks great.

03

The lid

A detachable container for the small stuff, with an access hatch for passport and ticket.

Why we built it this way

The lid was not going to be another space waster, with volume already limited by the seat. The bottom holds most A4 folders and normal-size tablets and laptops, flush with the edge of the case. The small things — phones, chargers, cables, headphones, adapters, passports, sunglasses, pens, keys — live in the lid, which is a strap-on but fully detachable container.

Swap a SIM card or find your earphones on a tiny airline table without digging through the case. The access hatch gets you to your passport or ticket without opening the whole lid. There are no locks: this case never leaves your hands.

04

The skin

Thin aircraft aluminium and full rivets. Damaged? Replace just that panel.

Why we built it this way

Aluminium doesn't rust, is light, easy to work, and looks good even when older and nicked. The rivets are full rivets, the kind that hold aircraft together — being pilots, we wanted our luggage built the way our aircraft are.

If one part gets badly damaged, it can be rebuilt by replacing only that part. We used the thinnest aluminium we could get away with, so your cabin allowance goes to what's inside, not the case itself.

05

The wheels

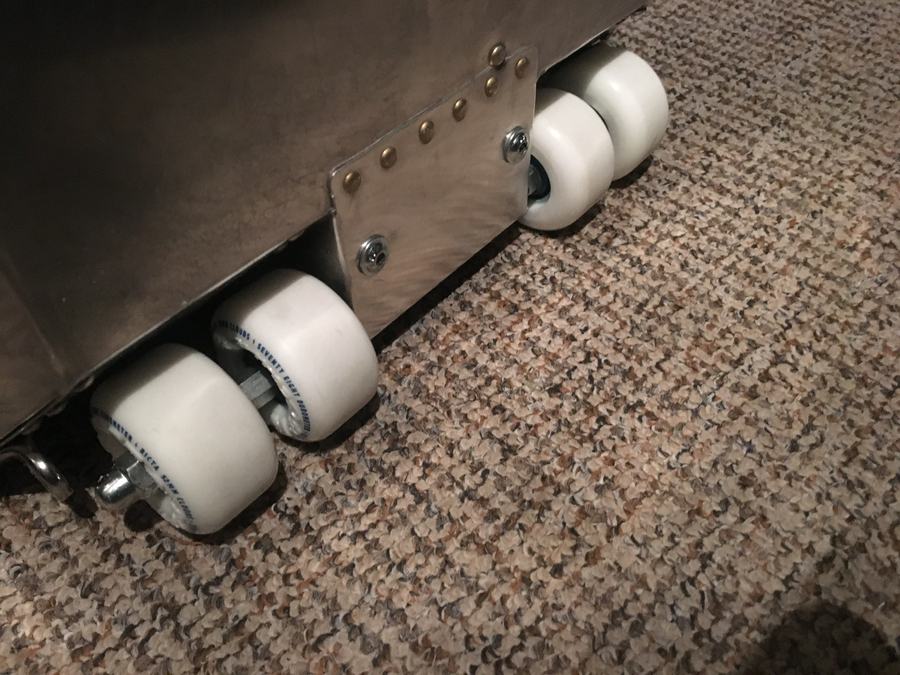
Two would have been enough. The inside two are just for the looks — we admit it.

FIG. 02 — From the garage

It started with a tape measure under an airline seat.

Maximum space under a standard seat, the tools in the garage, and the second cardboard model. We couldn't buy the case we wanted, so we built it.

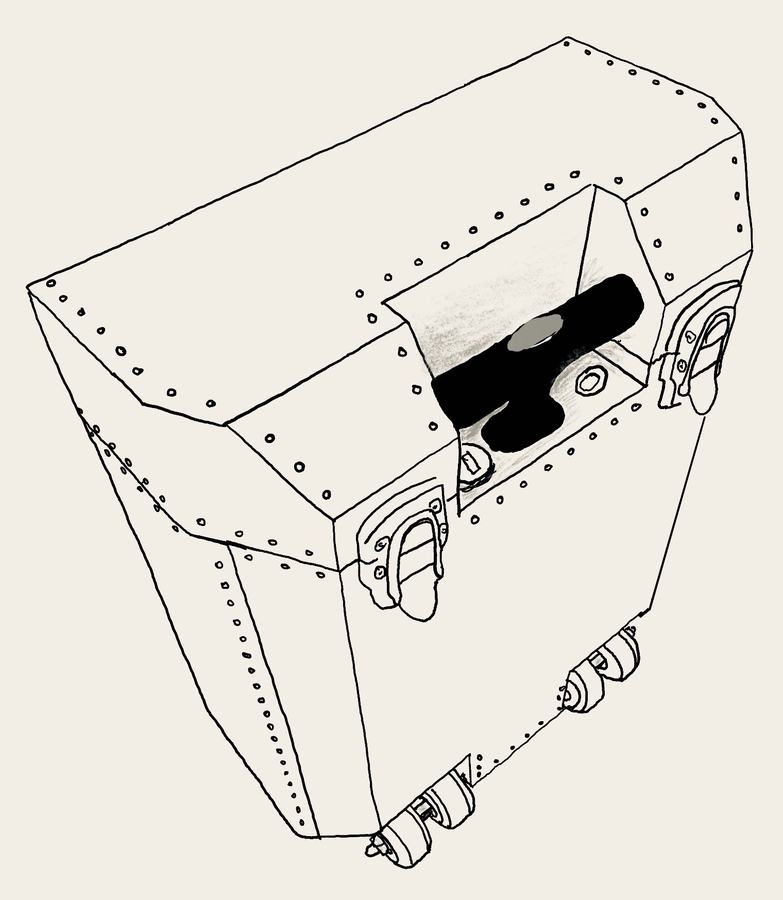
Hand-drawn Taildragger construction sketch with dimensions
Read the build storyClose the story
Just the right stuff

I started travelling seriously right after school. Thirty years on, there are still one or two carton boxes at my parents' home that I never really unpacked. Becoming a pilot didn't exactly reduce the need for proper travel luggage and equipment.

Surprisingly, you don't need much to be on the road or in the air. How long, where you go and what you'll do there decide what you pack — and what you pack it into. I don't want cheap, medium and top options; I want the one that works best.

We couldn't find one. So we built it.

Hard-case pilot bags are the best size for packing — but most are bigger than the space under the seat, and if you're not first on board, good luck in the overhead bin. Then it goes into the hold: the last place you want your laptop, passport, chargers and documents.

After cross-checking the maximum space under a tourist-class seat, we looked for a hard-case trolley that fit. There wasn't one. Hard cases also open to double their size, which your neighbours don't love. So we built what we'd wished for — within the limits of a standard airline seat, the tools in the garage and the skills we had (or didn't). The second cardboard model looked promising: enough lines and curves not to be boring, still buildable, and enough volume for the gear most trips need.

Along the way the case was called Straight and Level — an aviation term every pilot knows, and it's still cut into the skin of the early panels. In the end Taildragger fit better: we love taildraggers, and you literally drag this one behind your tail.

Each of the five systems above has its own backstory — open "Why we built it this way" on any of them.
Build log · from the garage
The idea: Drawn on paper first: the shape had to fit under a seat and still look like it belonged on an airplane.
01 The idea Drawn on paper first: the shape had to fit under a seat and still look like it belonged on an airplane.
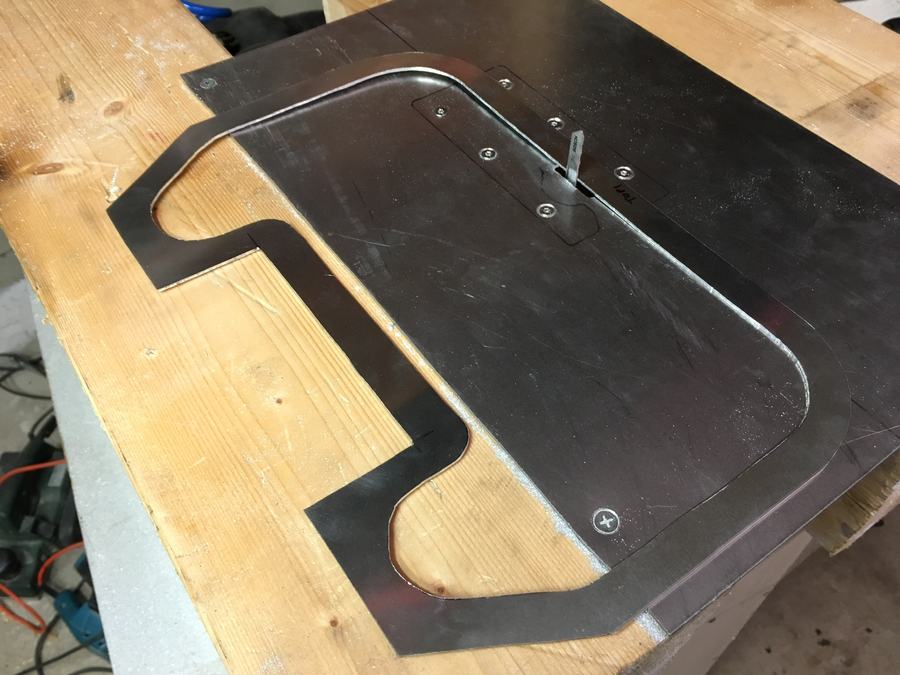
Templates: Top and bottom frames cut from sheet aluminium, then used as templates for every other part.
02 Templates Top and bottom frames cut from sheet aluminium, then used as templates for every other part.
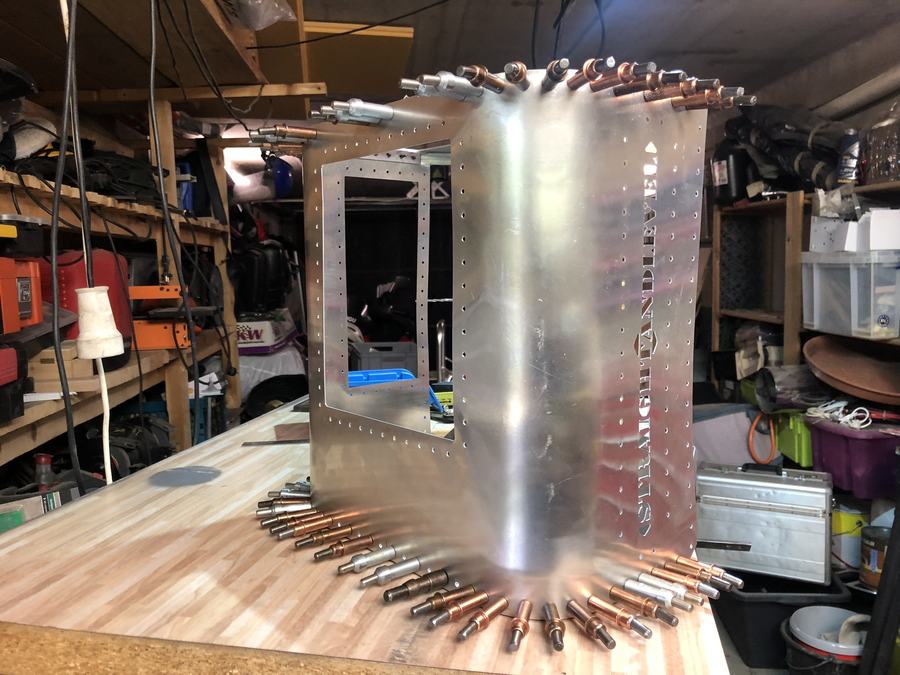
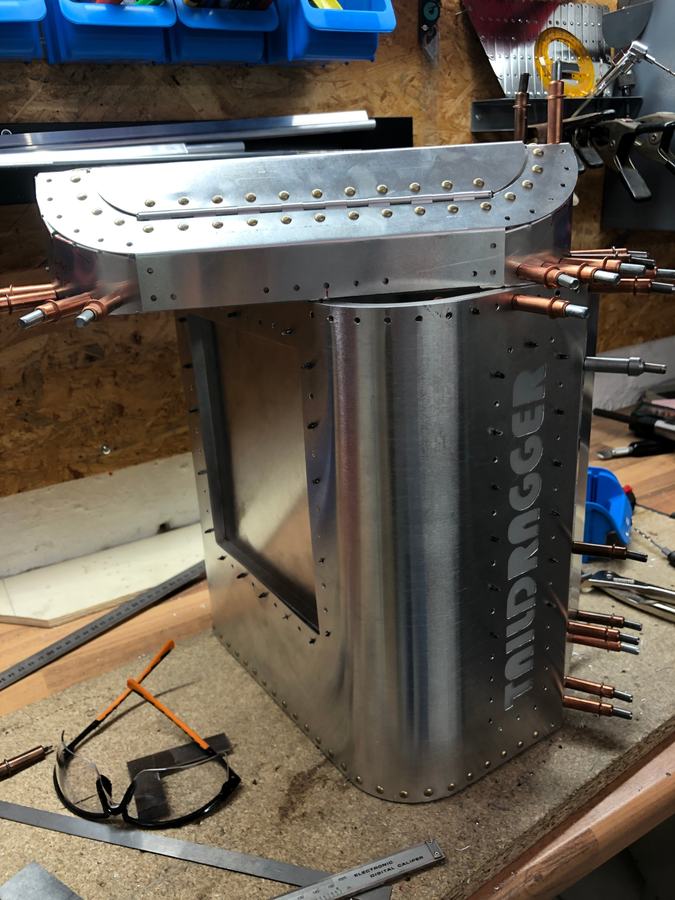
Straight and Level: The first name, cut straight into the skin — a term every pilot knows.
03 Straight and Level The first name, cut straight into the skin — a term every pilot knows.
First light: With a light inside, the cut-out letters glow. That stayed.
04 First light With a light inside, the cut-out letters glow. That stayed.
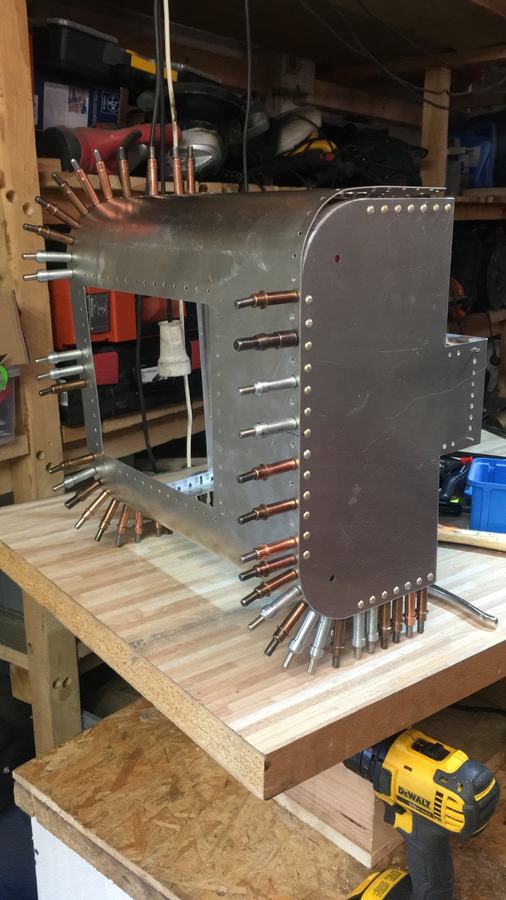
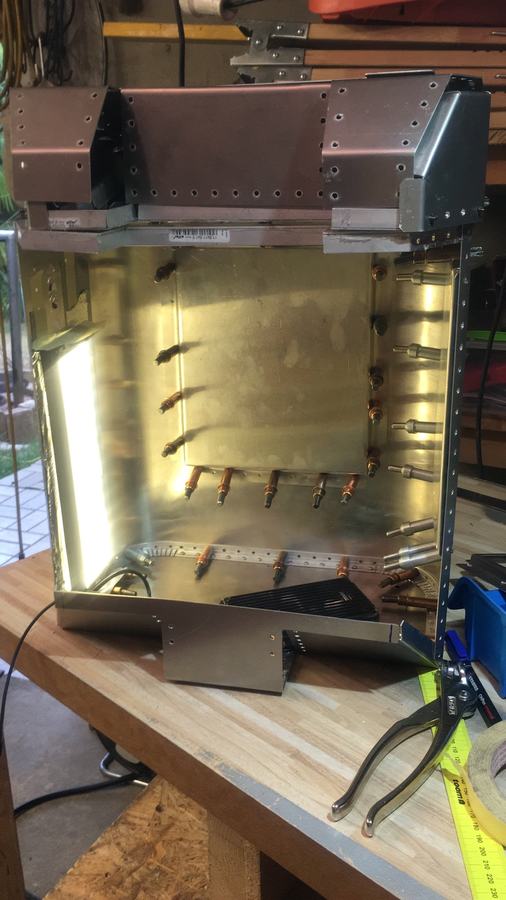
Clecoed: Every panel is pinned with clecos first, the way aircraft skins are, before a single rivet goes in.
05 Clecoed Every panel is pinned with clecos first, the way aircraft skins are, before a single rivet goes in.
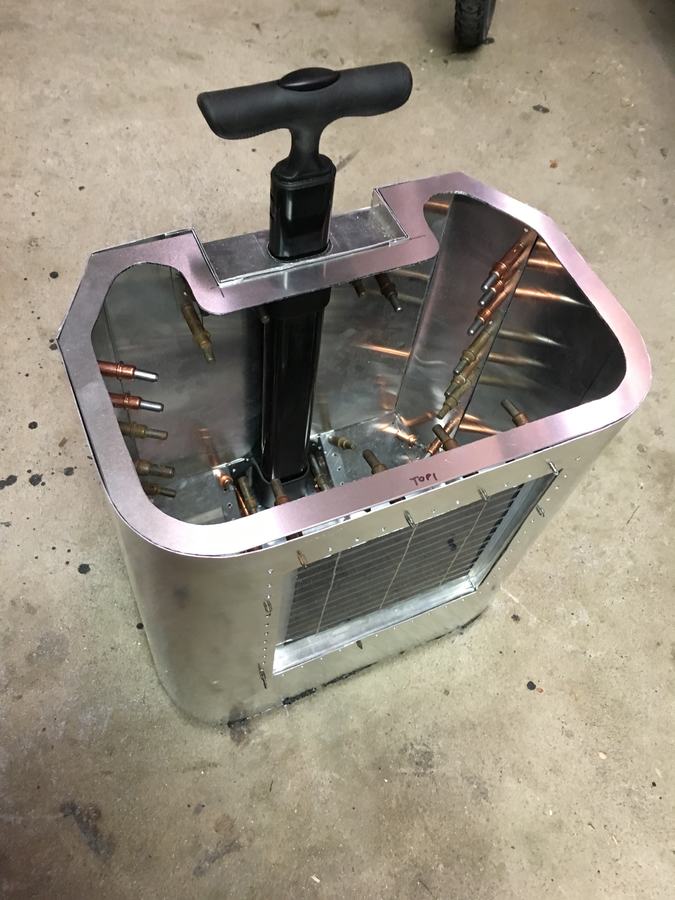
Solar and handle: The solar panel goes into the front skin; the trolley handle gets its own channel.
06 Solar and handle The solar panel goes into the front skin; the trolley handle gets its own channel.
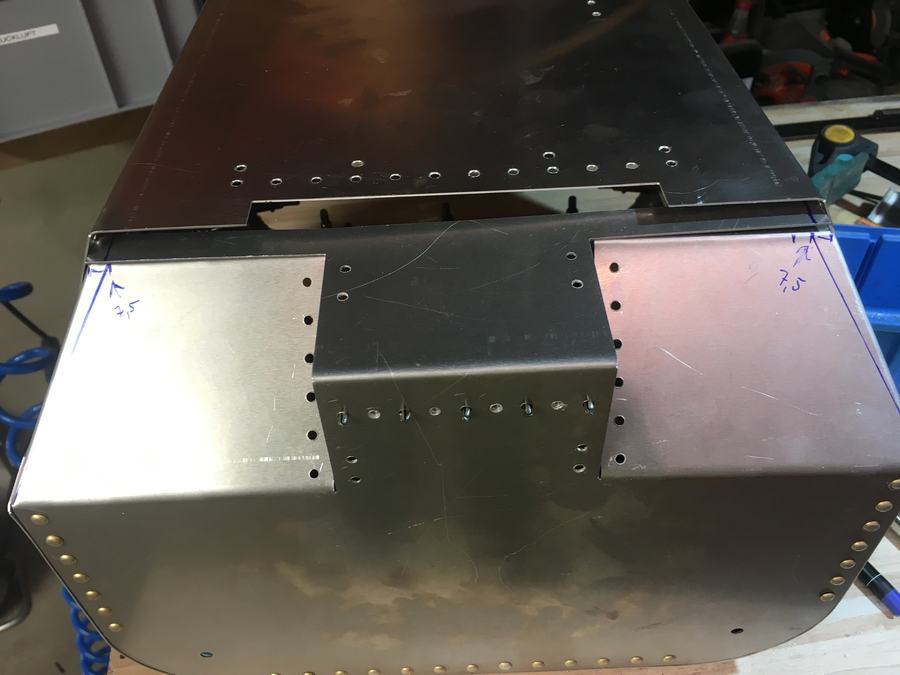
The lid: Lid parts marked, bent and fitted around the handle recess.
07 The lid Lid parts marked, bent and fitted around the handle recess.
Light test: Inside, lit up for the first time, still full of clecos.
08 Light test Inside, lit up for the first time, still full of clecos.
Power: Battery bank, USB lines and the light panel, wired in.
09 Power Battery bank, USB lines and the light panel, wired in.
Renamed: Taildragger: We love taildraggers — and you literally drag this one behind your tail.
10 Renamed: Taildragger We love taildraggers — and you literally drag this one behind your tail.
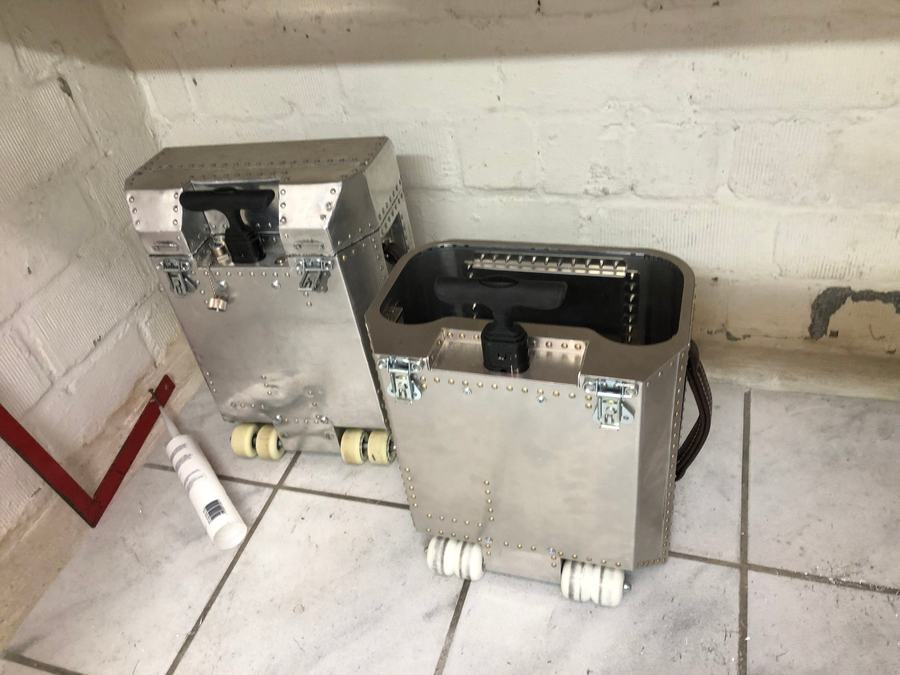
Two prototypes: Prototype one and two side by side — the second one got the brass rivets and leather side handle.
11 Two prototypes Prototype one and two side by side — the second one got the brass rivets and leather side handle.
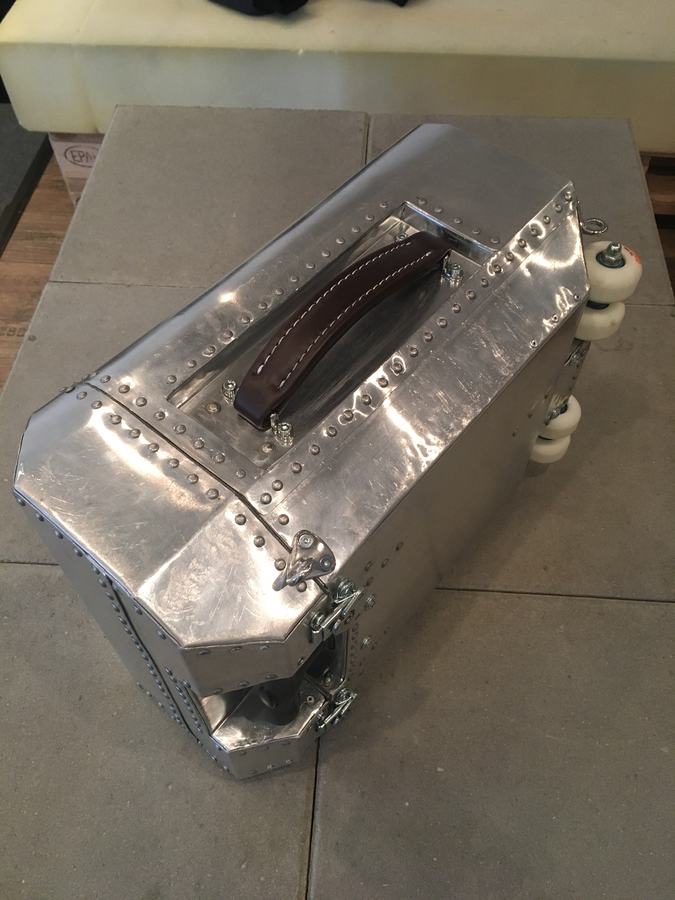
Finished: Riveted, polished, leather top handle.
12 Finished Riveted, polished, leather top handle.
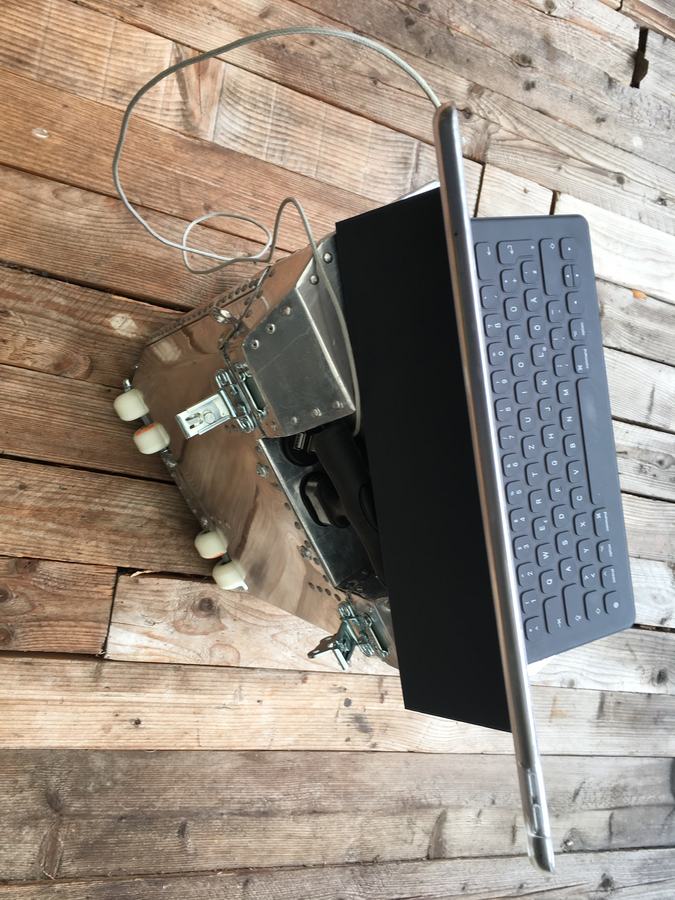
Tablet stand: Lid closed, it doubles as a stand for a tablet and keyboard.
13 Tablet stand Lid closed, it doubles as a stand for a tablet and keyboard.
Four wheels: Two would do. Four look better.
14 Four wheels Two would do. Four look better.

In the wild.

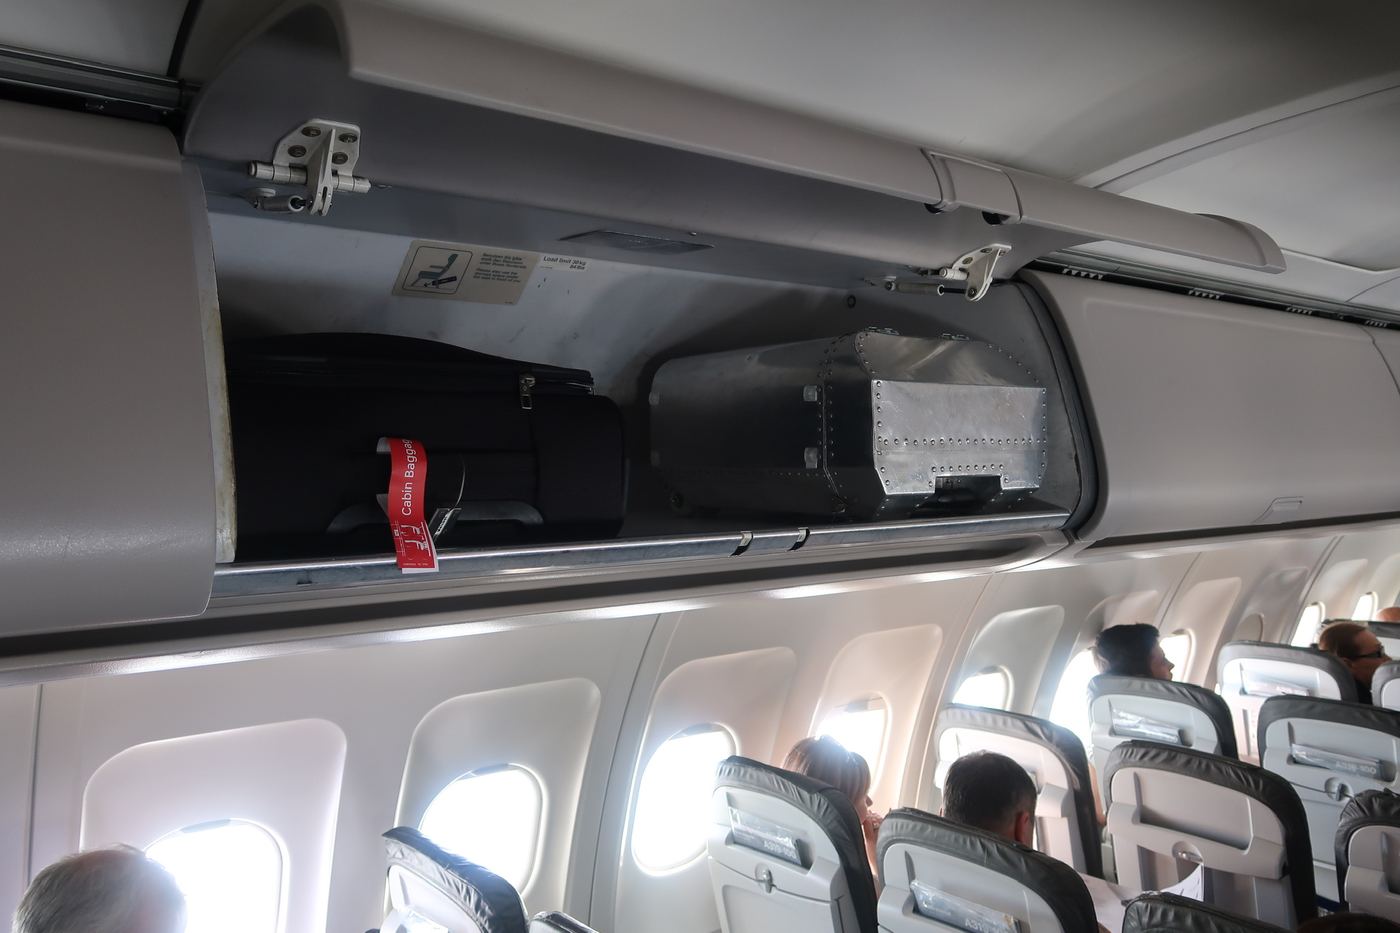
Under the seat, in the overhead bin, and at the gate café — the prototype has flown a lot of sectors.

FAQ · Will I get through security?

Yes. Although once, it shut down a terminal.

Honest answer to "did you build this yourself?" Detach the battery and the lid, and security will like it as much as we do.

ALL QUESTIONS →

Want a Taildragger?

Tell me you're interested and I'll come back to you with price and a build slot. Nothing is charged until we've agreed. Production takes about 3–5 months.